Trigger finger exercises Info
Last reviewed
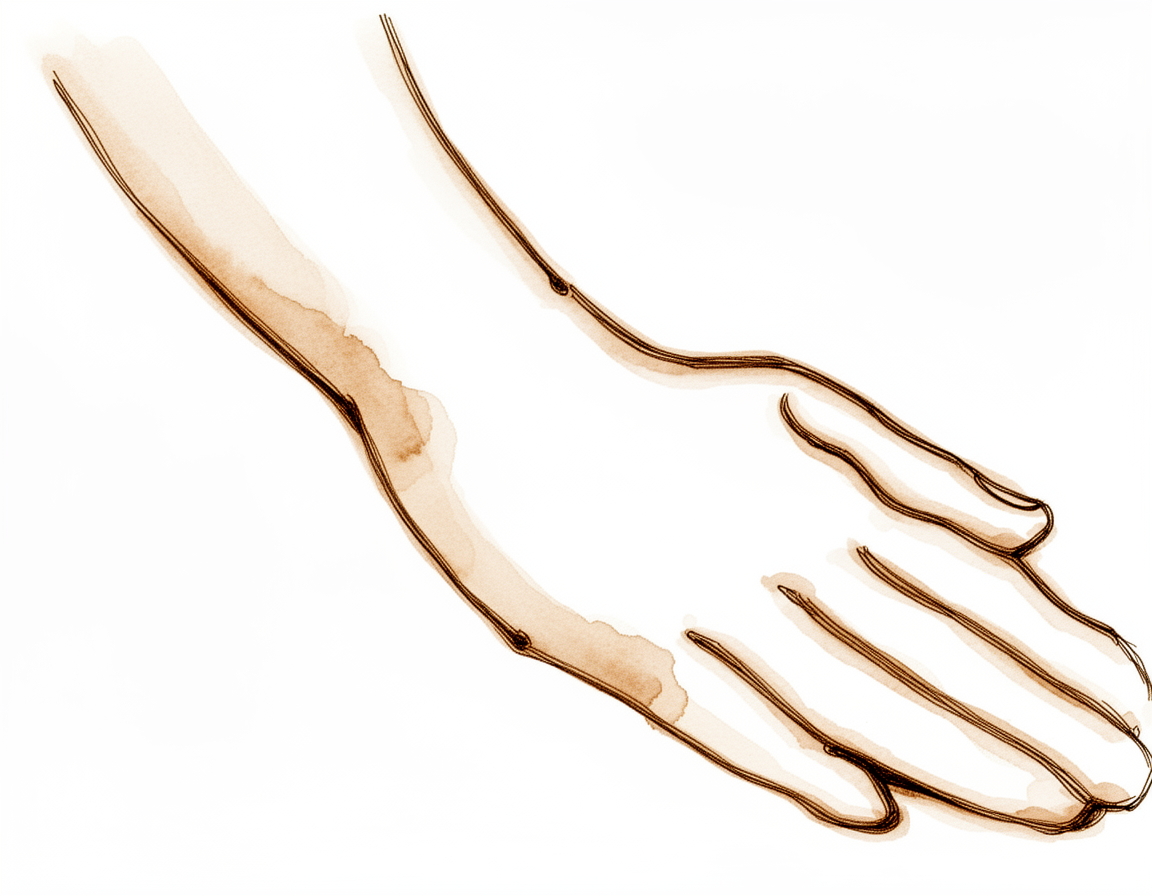
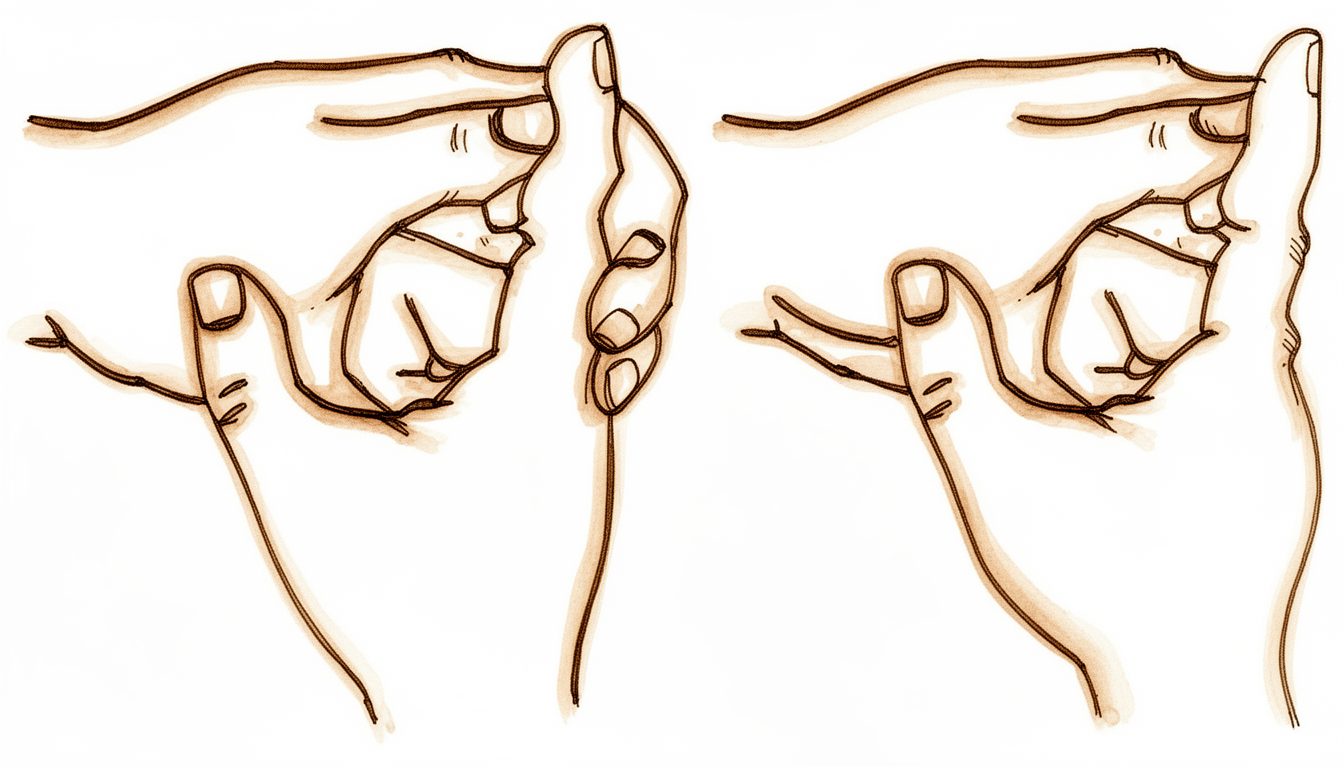
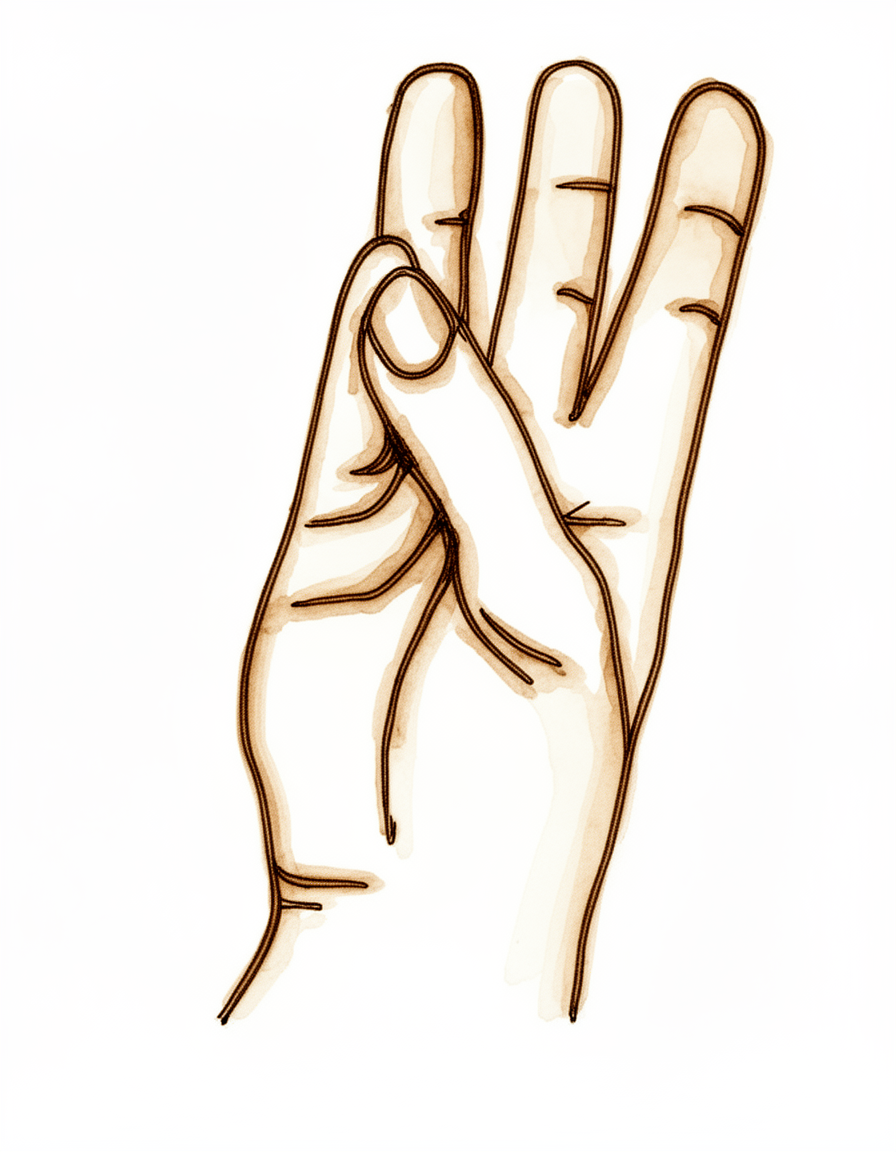
Exercise handout after trigger digit release — tenodesis, composite extension, blocked flexion and thumb opposition, recreated from an Extend Rehabilitation sheet.
Prepared in association with Extend Rehabilitation
Name: ____________________ Date: ____________
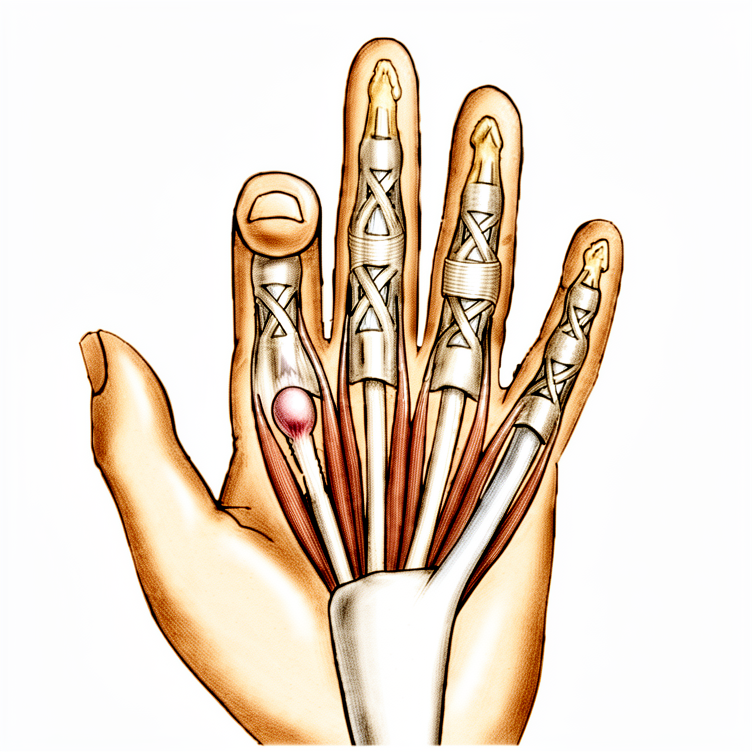
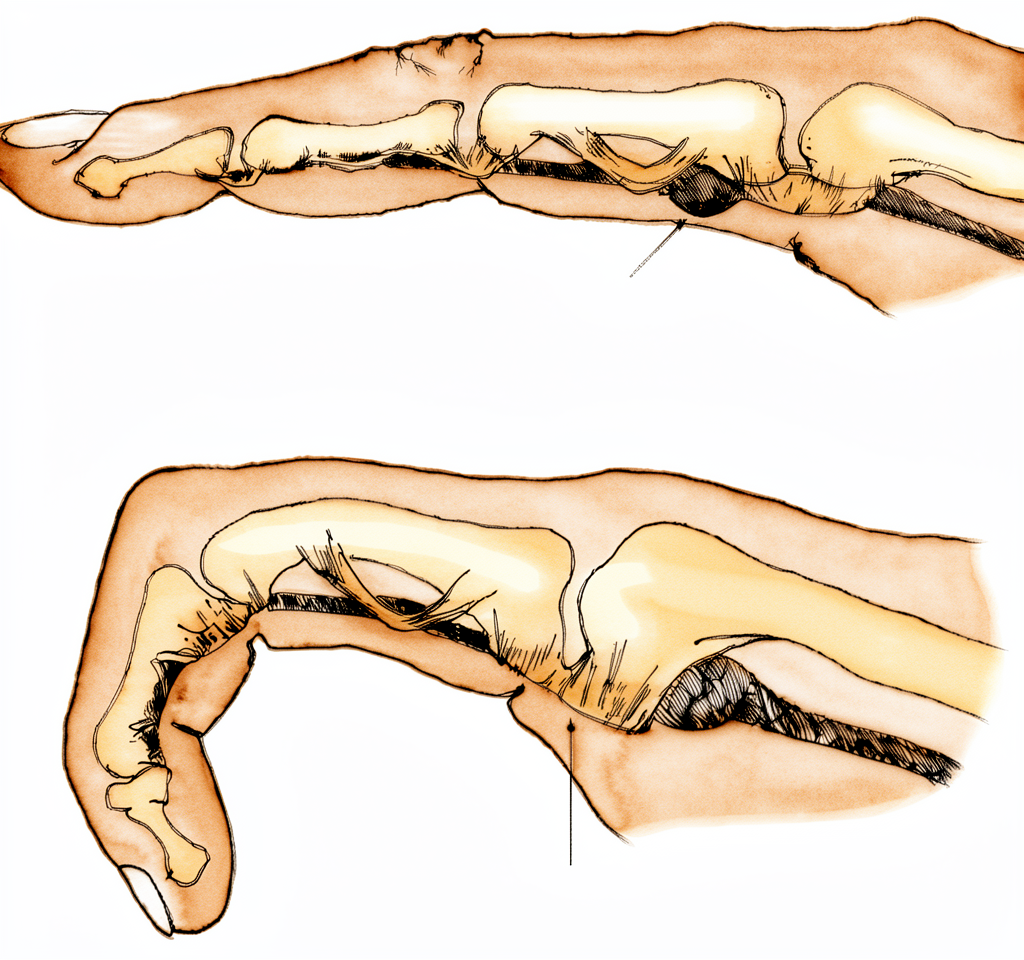
Trigger Finger/Thumb is a condition where your thumb or fingers can get stuck in a bent position and then straighten with a “snap”. This occurs because inflammation narrows the space so flexor tendons cannot pass through. Tendons are tough bands of tissue that connect muscles and bones. Together, the tendons and muscles in the hands and arms bend and straighten the fingers and thumbs. Trigger finger/thumb makes movement and gripping difficult for your fingers or thumb.
What causes trigger finger/thumb?
- Repetitive gripping actions are at higher risk of developing trigger finger.
- Rheumatoid Arthritis
- Diabetes
- Two-thirds more common in women compared to men
- Usually affects individuals between 40-60 years of age
Symptoms
- Soreness at the base of the finger or thumb.
- Painful clicking or snapping when bending or straightening the finger. This catching sensation tends to get worse after resting the thumb or fingers and loosens up with movement.
- In some cases, the finger or thumb locks in a bent or straight position as the condition gets worse and must be gently straightened with the other hand.
How can hand therapy help?
- The aim of treatment is to reduced inflammation to allow your flexor tendon to glide smoothly so the fingers can move without “triggering”.
- This can be achieved by
- Using a splint - the goal of splinting is to reduce movement of the irritated tendon.
- Cortisone injection - this will help relieve the inflammation of the flexor tendon and pain. Splinting may also be used with the cortisone injection
- Surgically - the tendon sheath is surgically release to allow the flexor tendon to glide smoothly
What you can do
- Minimise swelling by applying:
- Compression
- Keep your hand elevated
- Ice (first 48 hours)
- Gentle pumps
- Do not get your hand wet until you have your sutures removed and have discussed with your therapist.
- Use of your hand for light activities:
- You may begin using your hand for light tasks, e.g. dressing, eating etc. as soon as pain allows. Over time, slowly begin to use your hand more and for other tasks as tolerated.
- You are able to drive as soon as pain allows and you are safe to control the vehicle.
- It is very important not to overuse your hand following surgery, as this may delay your healing. If, after using your hand in daily activities, your notice a significant increase in your pain or swelling you should reduce your activities until your hand recovers.
Exercises
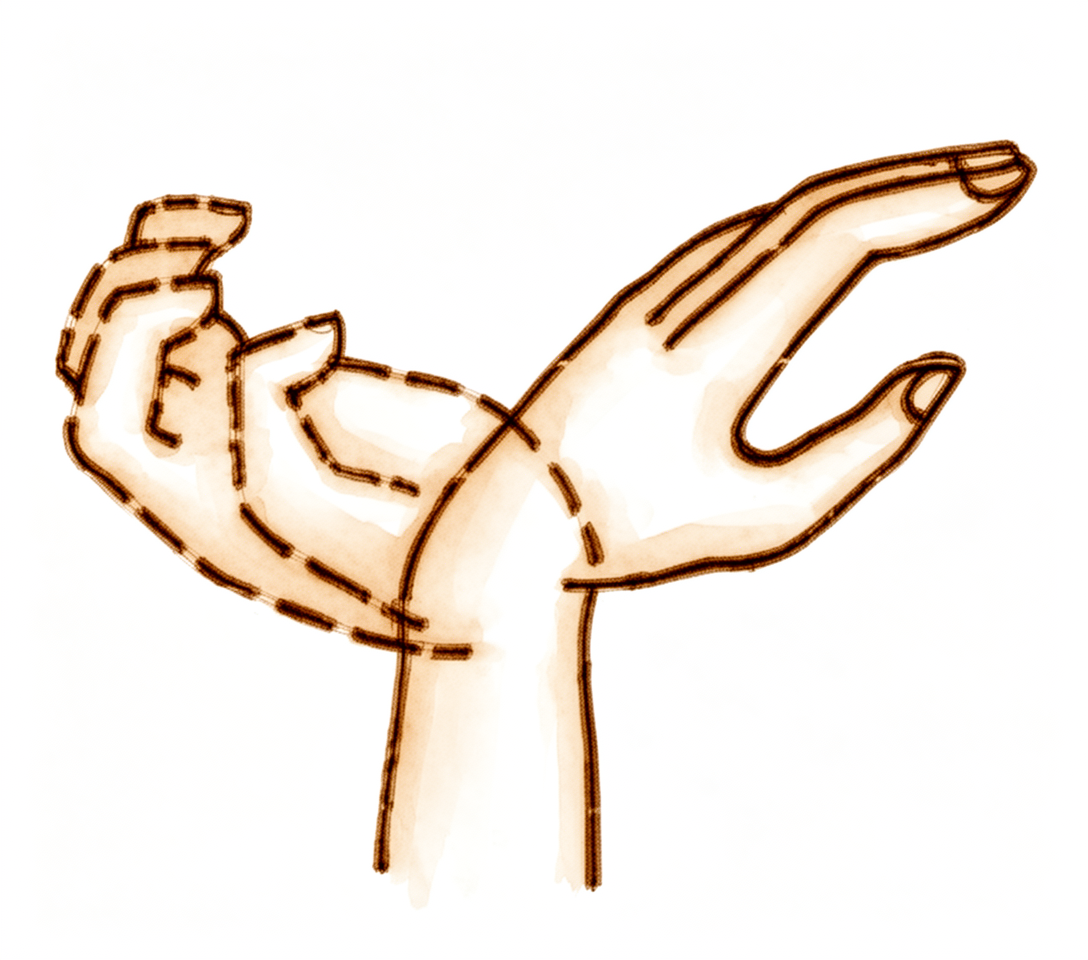
1. Tenodesis action
Resting on elbow with fingers relaxed, bend wrist forward and then backwards.
2. Active composite extension
Resting your elbow on a table, straighten your fingers as far as possible push further with your other hand. Count to 5, and relax.
3. Passive composite extension
Place your hand flat on a table (palm down). Apply pressure over the back of your hand and ‘massage’ towards your body. Count to 5, and relax.
4. Blocked DIP flexion
With your other hand, grasp and support the finger just below the end joint crease. Bend at the end joint only. Count to 5, and relax.

5. Loose fist
Supporting wrist back, make a loose fist – then “hook” – and then straighten and spread your fingers.
6. Thumb Opposition
Start with the fingers straight and relaxed. Touch the tip of your thumb to the tip of the index finger. Hold for 5 seconds. Return to straightened position. Repeat with the middle, ring and little finger.
10 repetitions 3-4 times daily
CARDSFor the full phase-by-phase recovery plan, see the trigger finger release rehabilitation protocol.